Finally, the final page for this scrapbook which spans over four years. The theme is Christmas and I used some really nice heavy weight cardstock paper I bought at a scrapbooking supplies store. It comes in a pad of about 40 pieces of cardstock some "foiled" and embellished with rich, vibrant colors and textures.
I cut out the flourish patterns using my Cricut Cutting machine and coordinating heavy weight cardstock. The photos included in this scrapbooking idea were hand cut to sizes which I determined would fit on the 12" x 12" piece of background cardstock.
The background cardstock is beautiful and I think gave me the Christmas idea for it's purpose.
Now it's time to start a new scrapbook spanning more years of my daughter's growing years. Stay with me.

Specifics
Blade Depth: #2
Pressure: High
Speed: Medium
Cardstock: "The Rustic Stack" from DCWV
Photo Corner Punch: Fiskars Heritage Stamp Cutter
Step by Step
Step 1 Flourish
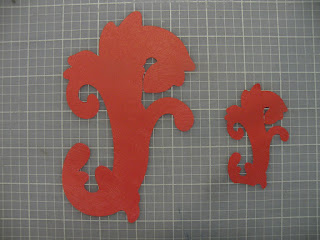 Cut two each of the <Flourish>, pg 31, Size 4" and 2" using the Shadow and keyboard keys. These cutouts gave me the larger background cutout shape for my scrapbook layout.
Step 2
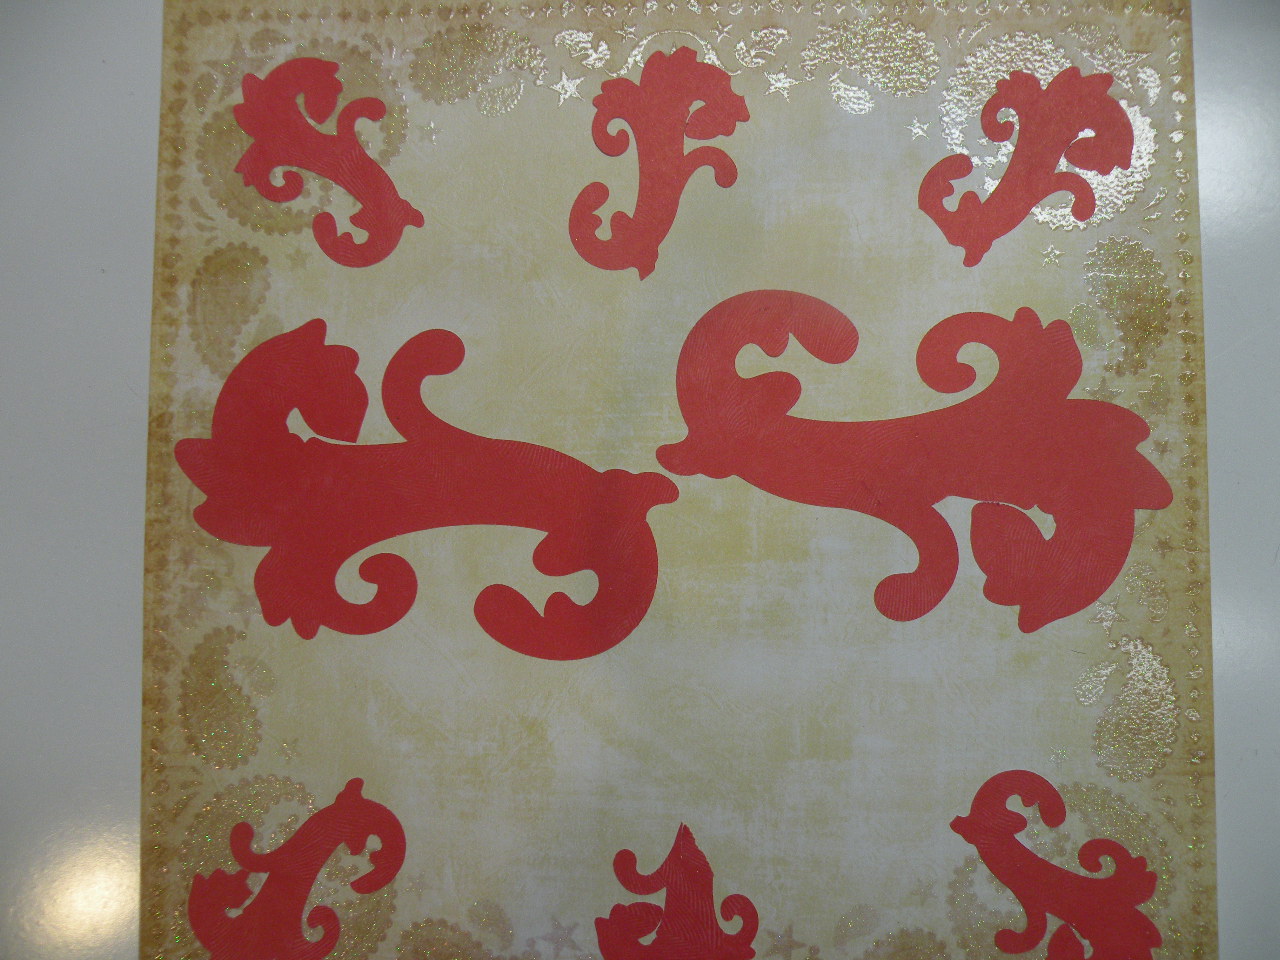
 Choose a 12" x 12" piece of background cardstock paper and arrange the flourish cutouts close to the edges of the 12"x12" cardstock. Adhere them in place.
Step 3
 Cut two each of the <Frame1>, pg 28, Size 4" and 5" using the Shadow and keyboard keys. These cutouts gave me larger background contrasting shapes for the photos.
Step 4
 Arrange the frame cutouts on the 12"x12" cardstock, placing them so that your photos let part of each frame show thru.
Step 5
 Available are acrylic stamps that can be used to embellish the scrapbook layout. I chose two of the Christmas themed acrylic stamps.
Step 6
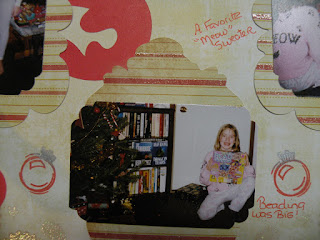 Add journaling for your scrapbook layouts, to remember dates and special things about each photo.
Step 7
 For added interest, with a scrapbooking pen dot some tiny dots around the outsides of the flourish cutouts.

Step 2
Step 3

Step 4

Step 5

Step 6

Step 7

I sincerely appreciate your visit to my blog and I thank you; please click on the "become a follower" link to continue to follow in the future.
No comments:
Post a Comment
I enjoy comments, they let me know how I'm doing.