Now, for today's homemade card made with my Cricut personal die-cutting machine and a great stamp from Stampin'Up!
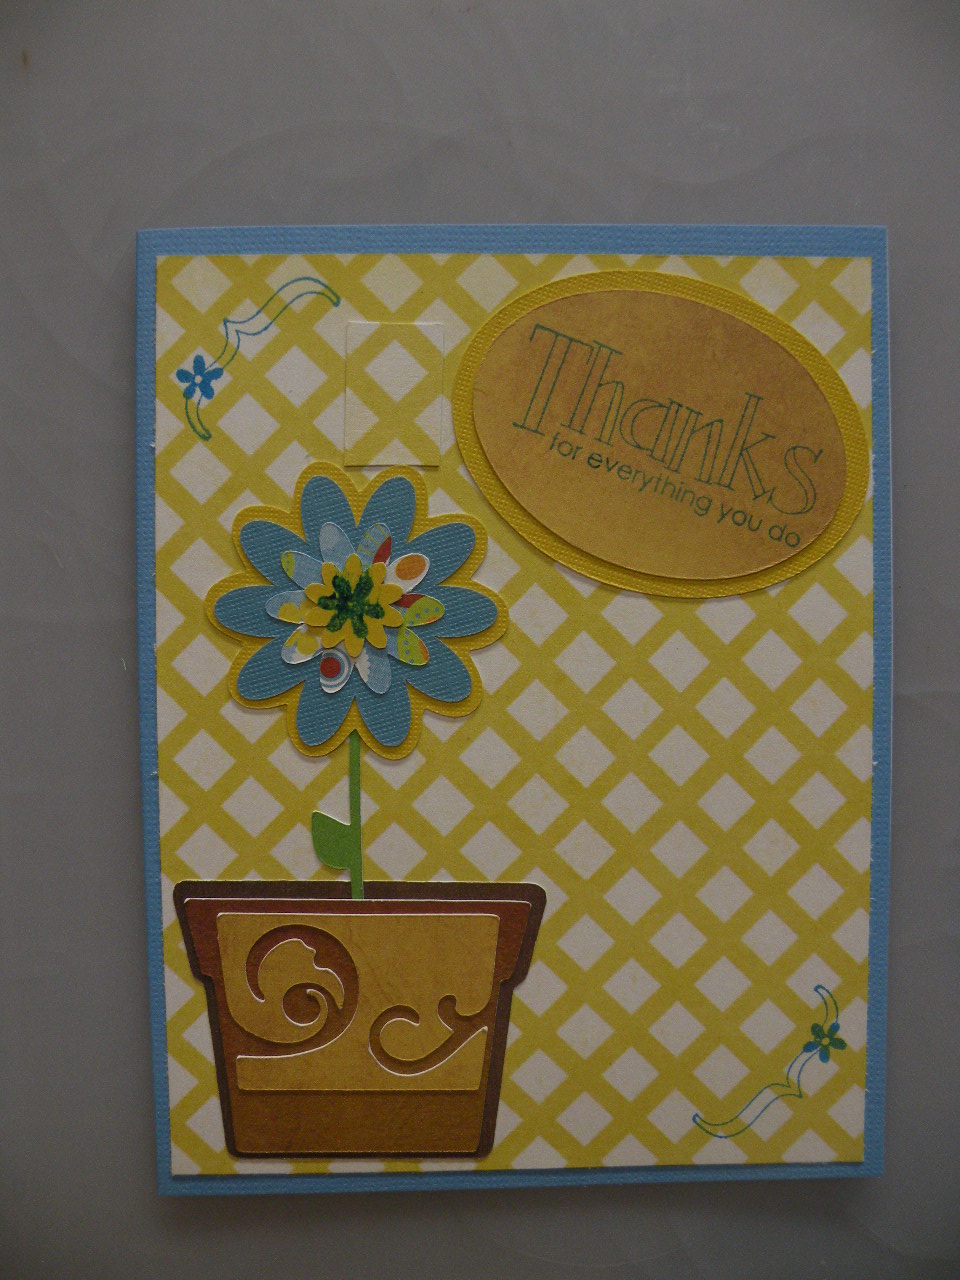
A Thank You card is always a nice thing to send after someone in your family, a loved one, or a friend has done something nice for you. Now, make that card a homemade Thank You card and you have something truly special and memorable to give or send.
A card made with a Cricut Die-Cutting machine is so easy to make and there are so many Cricut cartridges to use, giving you a wealth of different cutouts to choose from. Not only can you make a homemade Thank You card but pretty much any kind of card. You don't have to choose from the sentiments the card companies use, make up your own, make it something personal and special for the recipient.
Cricut Solutions Cartridge: Serenade
I just bought this cartridge and it has so many different cutouts available for your scrapbook layout or a card. You can cutout prettty butterflies, flowers and flowers in pots, trees, birds and birdcages, and a cute little flamingo too. The Cricut Solutions cartridge is one that doesn't come in a big box with a booklet, it comes with a pamphlet showing the cutouts you can make. Available are 2 Creative Features: Layer and Shadow along with diretions on how to make a typical cutout that applies to all the choices they give you.
Specifics
Cricut Solutions Cartridge: Serenade
Blade Depth: #2
Speed: Medium
Pressure: Max
Scrapbooking Cardstock Weight: Heavy to Medium for the flower cutouts.
Stamp: Stampin'Up! 'For Everything" set. Includes "Thanks, Friendship, borders, a bird, a butterfly, and decorative flowers.
Step by Step
Blade Depth: #2
Speed: Medium
Pressure: Max
Scrapbooking Cardstock Weight: Heavy to Medium for the flower cutouts.
Stamp: Stampin'Up! 'For Everything" set. Includes "Thanks, Friendship, borders, a bird, a butterfly, and decorative flowers.
Step by Step


This "Thanks" card was so much fun to make using the Cricut and my newest passion..Stamps from Stampin'Up!. The clean image made with the stamps adds so much to a card.
 Cut a base piece of scrapbook paper measuring 5 1/4" x 4" for the card measuring 5 1/2 x 4 1/4" and adhere it to the card itself.

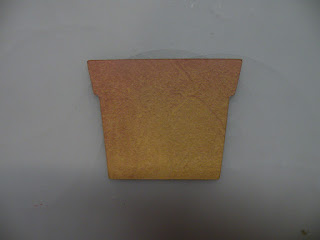
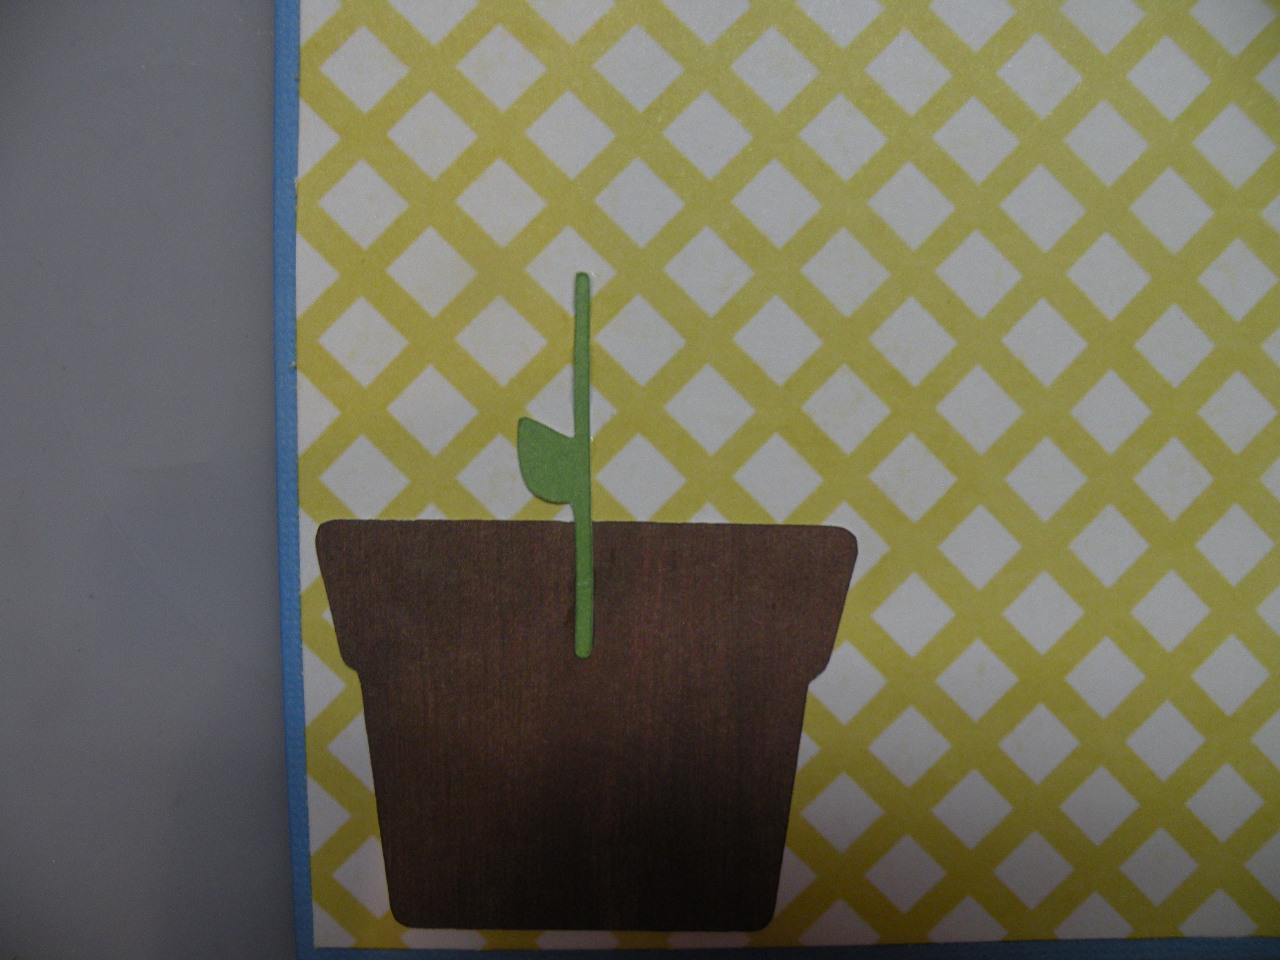
Cut one <Pot> size 1 1/2", using the Shadow and Pot keyboard key for the bottom layer of the pot. I used dark brown cardstock.
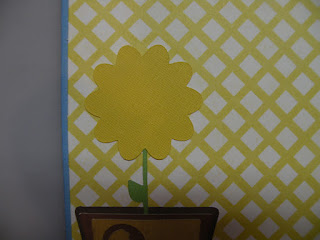
 Cut one <Pot>, size 1 1/2", using the Layer and Pot keyboard key for the Stem of the flower. I used green cardstock.
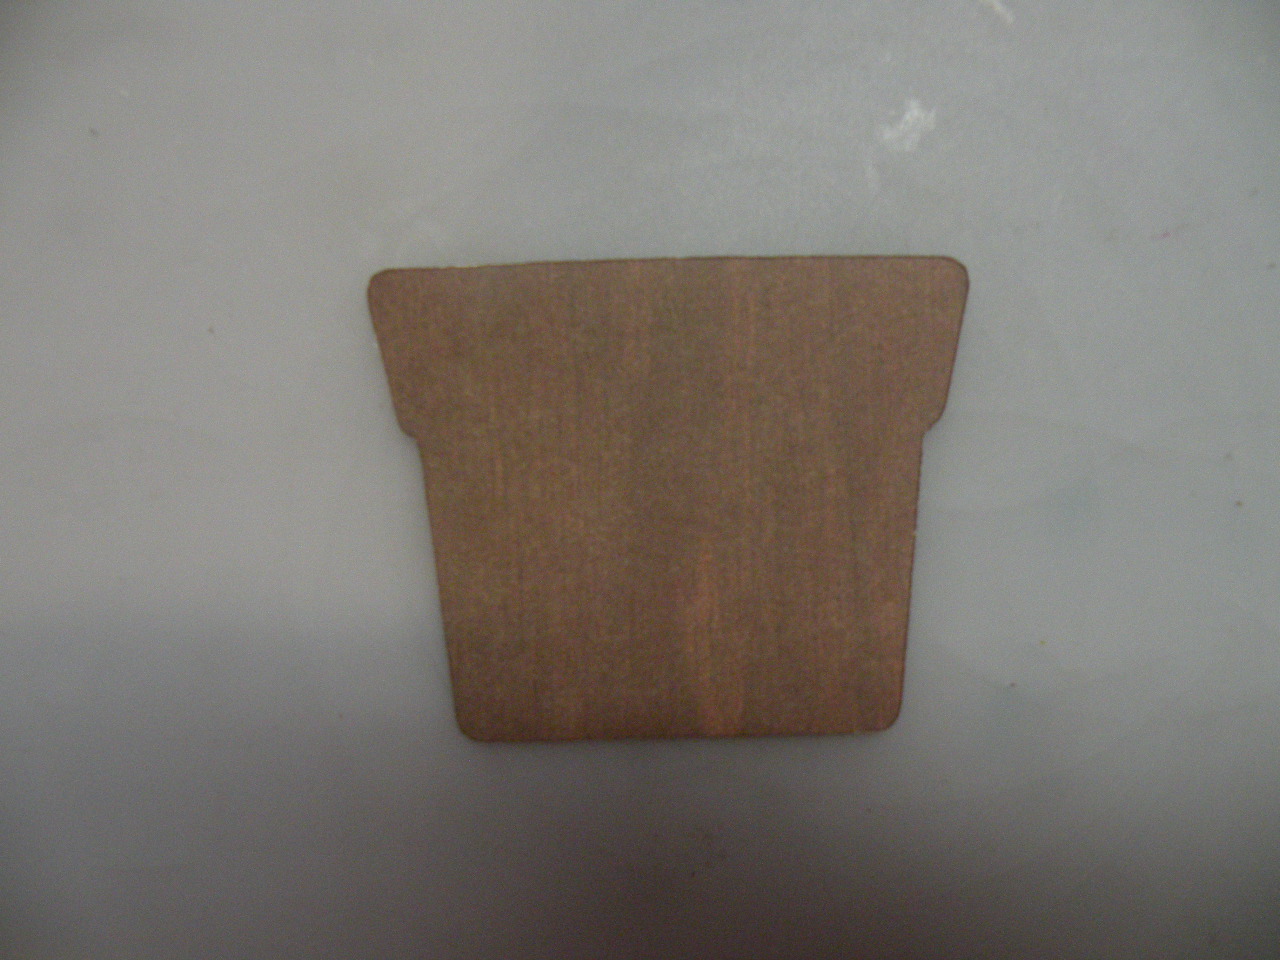
 Cut one <Pot>, size 1 1/2", using only the Pot keyboard key for the top layer of the pot. I used a mottled brown cardstock.
 Cut one <Pot-s>, size 1 1/2", using the Shift and Pot keyboard key for the intricate design on top of the pot. I used a tan cardstock.


Adhere the Pot layers to the bottom left of the card. Make sure to adhere the flower stem underneath the brown top layer of the pot to make it look as if it is planted.
Flower: I chose Flower4 but there are actually different flower cutouts you can choose from.
 Cut one <Flower4>, size 1 1/2" using the Shadow and Flower4 keyboard key for the bottom layer of the flower. I used yellow cardstock.
Cut one <Flower4>, size 1 1/2" using the Flower4 keyboard key for the middle layer of the flower. I used blue cardstock.
 Cut one <Flower4-s>, size 1 1/2" using the Shift and Flower4 keyboard key for the layer just above the middle layer of the flower. I used a patterned cardstock.
Cut one <Flower4>, size 1 1/2" using the Layer and Flower4 keyboard key for the top small layer of the flower. I used a yellow cardstock.


 Adhere the flower cutouts together from the large bottom layer to the small top layer. Adhere the flower on top of the stem on the left side of the card.
STAMPING


 Cut two ovals from your cardstock. Stampin'Up! has some great gadgets to cut perfect ovals. Cut one oval 2 1/4" and the other 2". Adhere the two with the larger on the bottom then adhere at an angle to the top right of your card.
 Using the Thanks stamp from Stampin'Up!, choose a color and stamp carefully to the middle of your smaller oval. Take care not to touch it for a few minutes until it dries.
 Stamp in opposite corners one of the Border stamps from the collection.
 Stamp on the top flower layer a tiny Flower stamp from the collection. You'll notice mine smudged, so be careful not to slide your hand over the stamp right away.
Finished!

Cut one <Pot> size 1 1/2", using the Shadow and Pot keyboard key for the bottom layer of the pot. I used dark brown cardstock.


Adhere the Pot layers to the bottom left of the card. Make sure to adhere the flower stem underneath the brown top layer of the pot to make it look as if it is planted.
Flower: I chose Flower4 but there are actually different flower cutouts you can choose from.

Cut one <Flower4>, size 1 1/2" using the Flower4 keyboard key for the middle layer of the flower. I used blue cardstock.

Cut one <Flower4>, size 1 1/2" using the Layer and Flower4 keyboard key for the top small layer of the flower. I used a yellow cardstock.


STAMPING


Finished!
I sincerely appreciate your visit to my blog and I thank you; please click on the "become a follower" link to continue to follow in the future.
No comments:
Post a Comment
I enjoy comments, they let me know how I'm doing.