
Specifics:
Cricut Cartridge: Sentimentals and Simply Charmed.
Both of these cartridges are good basic ones to have in your Cricut Machine library. Sentimentals hosts a variety of frames and basic cutouts and Simply Charmed has cute cutouts for every holiday and occasion you would need for both scrapbook layouts and cards.
- Speed: Medium
- Pressure: Max
- Blade Depth: #2
- Paper: Use a good weight cardstock as the intricate frames cut out much better with heavy weight cardstock than they do with a lightweight cardstock.
- Tools: A must have is the Cricut Essentials Tool Kit. Some cutouts require a bit of extra trimming and the paper trimmer cuts your 12"x12" cardstock down to the 6"x12" required for your Cricut Create if you have that model.
Photo Size vs Frame Size
Your photo size determines your frame size. For instance, <Frame1> cutout with a 51/2" Height will allow for a 2 1/4"High x 1 1/2" Wide photo. My photos were trimmed to be just a bit bigger so as to be able to glue them to the finished frame.
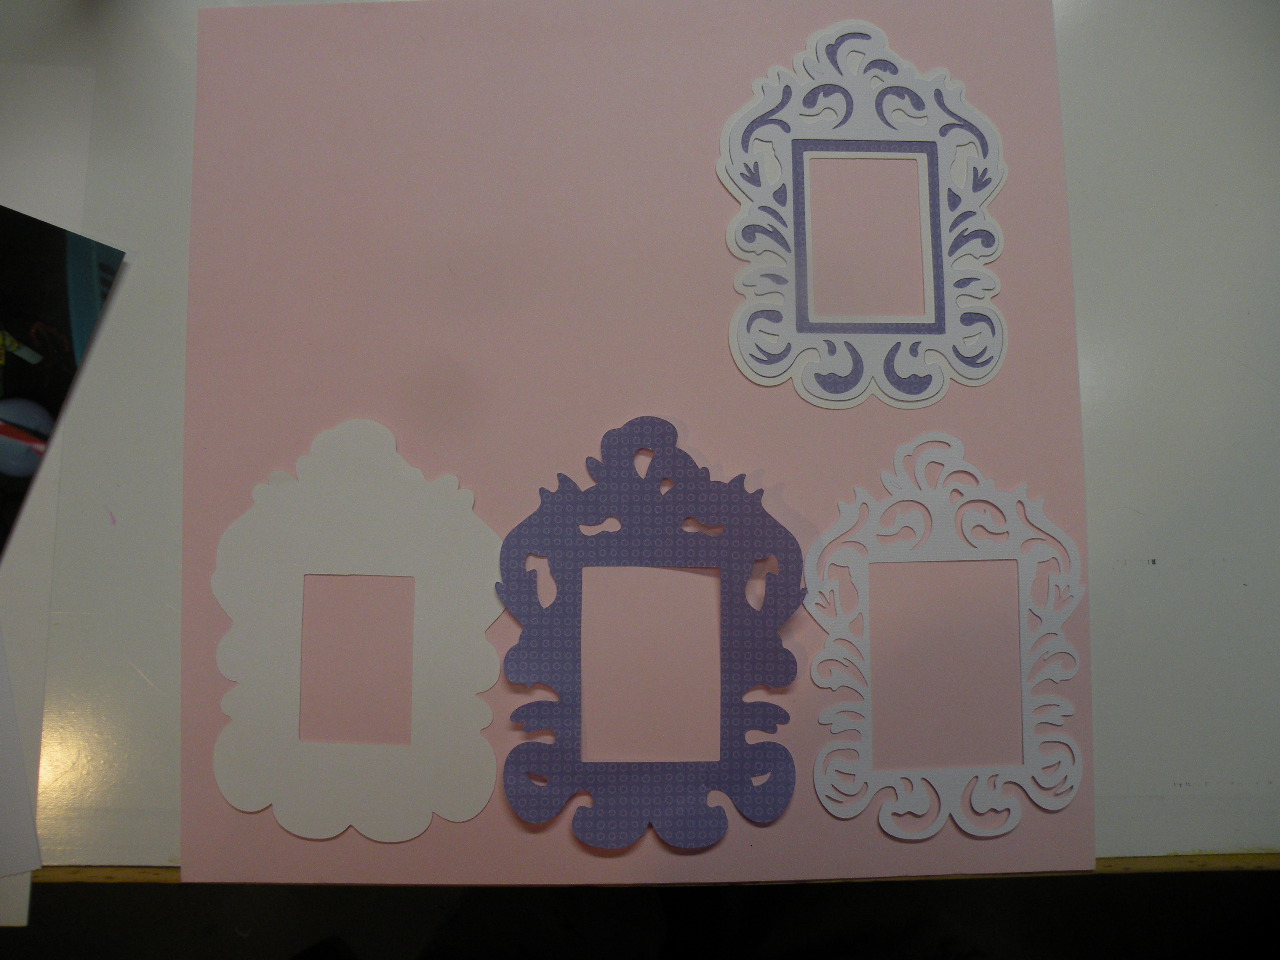
Sentimentals Cartridge, Size 5 1/2"
- Cut 2 each <Frame1>, page 28, Use Layer Button
- Cut 2 each <Frame1>, page 28, Use No other buttons
- Cut 2 each <Frame1>, page 28, Use Shadow Button

Glue the three pieces together as shown with finished cutout.
Step 3
Step 3

Center the subject of your photo behind the frame and adhere it to the frame back. Make sure to cutout the photo a bit bigger than what you want to see.
Step 4

I used a coordinating piece of scrapbook paper for one side of the finished layout, cut to 6"x12" and adhere it to the base page.
Step 5
Step 5

Adhere your finished photo to the patterned piece of cardstock.
Step 6

Sentimentals Cartridge. Photo Size trimmed to 4"High x 4 1/2" Wide. Colors are your choice...
- Cut <Card1>, page 65, Size 5" Green
- Cut <Card1>, page 65, Size 4 3/4" Lt Orange
- Cut <Card1>, page 65, Size 5" Lt Orange
- Cut <Card1>, page 65, Size 4 3/4" Yellow

Adhere the smaller <Card1> cutouts to the bigger, then your photo on top. Now adhere the finished item to your scrapbook page as shown.
Step 8


Simply Charmed Cartridge. Use two different colors. I like white as a background for words.
- Cut 1 <Balloon>, page 75. Use Word Key (this is the intricate top layer)
- Cut 1 <Balloon>, page 75. Use Word Key, Use Shift Key (bottom layer)
Step 9

The memo area is important for a scrapbook layout. You need to have an area where you can note the date, occasion, and people (memories of faces do fade at times). Some Cricut cartridges have a cutout for a memo area; I prefer to write on a blank area. I write the name(s), date, and occasion. On this layout I wrote the names on the pictures.
Step 10

I sincerely appreciate your visit to my blog and I thank you; please click on the link to follow my blog for future projects.
No comments:
Post a Comment
I enjoy comments, they let me know how I'm doing.