Making a homemade Father's Day card has long been a tradition in my family. Even the youngest child can create a memorable card easily with crayons and cardstock. Using my Cricut machine and with a little help from me, this Cricut card for Father's Day was easy to make and alot of fun. Not to mention time spent with my child.
I used my favorite Simply Charmed Cricut Cartridge. As I've said before, it has some type of cutout for every occasion. There are times I use different cutouts from different cartridge to create the entire layout or card I wish, but this time I went directly by the Cricut instructions on creating the fun shirt and tie cutout for this special Father's Day card.
Specifics
Cricut Cartridge: Simply Charmed
Blade Depth: #2
Pressure: Max
Speed: Medium
Use a Medium Weight Cardstock as the cutouts were not intricate in nature and easy to cutout.
Blade Depth: #2
Pressure: Max
Speed: Medium
Use a Medium Weight Cardstock as the cutouts were not intricate in nature and easy to cutout.
Step by Step
Step 1

Choose a coordinating piece of cardstock for the background layer of your card. I chose a lightly textured and colored piece.
Step 2

Cut one <ShirtTie>, pg 42, size 4 1/4" using the Shadow, Shift and ShirtTie keyboard key for the bottom layer.
Step 3

Adhere the shadow cutout of the shirttie to the card itself.
Step 4


Cut one <ShirtTie>, pg 42, size 4 1/4" using the Shift and ShirtTie keyboard key for the Shirt and Collar Cutouts.
Step 5

Adhere the Shirt and Collar cutouts to the card.
Step 6

Cut one <ShirtTie>, pg 42, size 4 1/4" using the Layer 1, Shift, and ShirtTie keyboard key for the Tie cutout.
Step 7
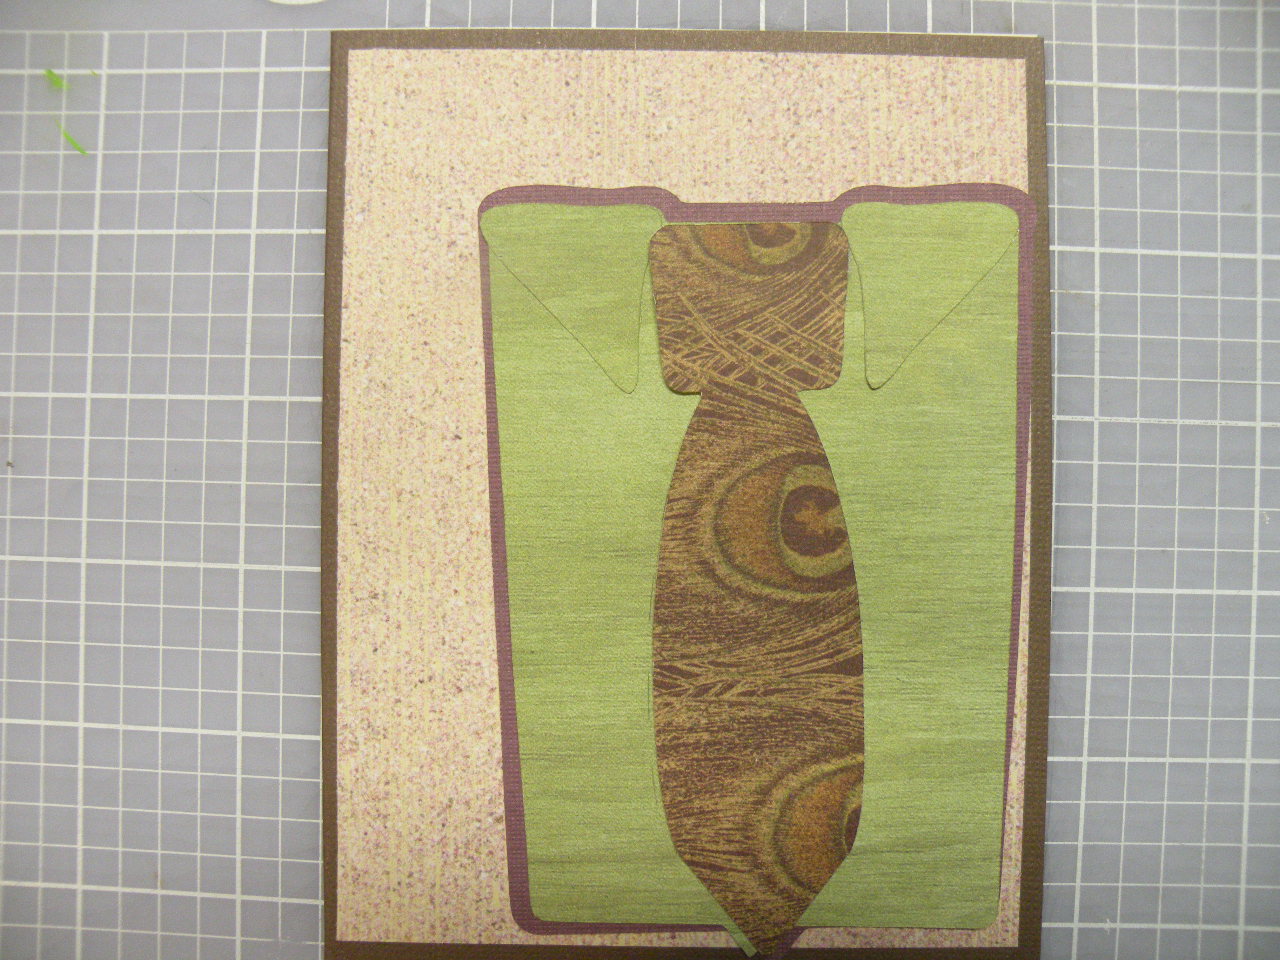
Adhere the tie in place on the card making sure the bottom tip is placed in the shirt cutout tip.
Step 8
Cut one <ShirtTie>, pg 42, size 4 1/4" using the Layer 2, Shift, and ShirtTie keyboard key for the tie knot background cutout. This will peek through the smiley face cutout.
Step 9

Adhere the tie knot background cutout to the top of the tie. Try to center this cutout so the color of the tie cutout doesn't show on the sides.
Step 10

Cut one <ShirtTie>, pg 42, size 4 1/4" using the Layer 4, Shift and ShirtTie keyboard key for the smiley face and tie stripes.
Step 11

Adhere the smiley face and stripes to the tie. They are cut to be placed specifically so the slant and flat edges will look like tie stripes.
Step 12

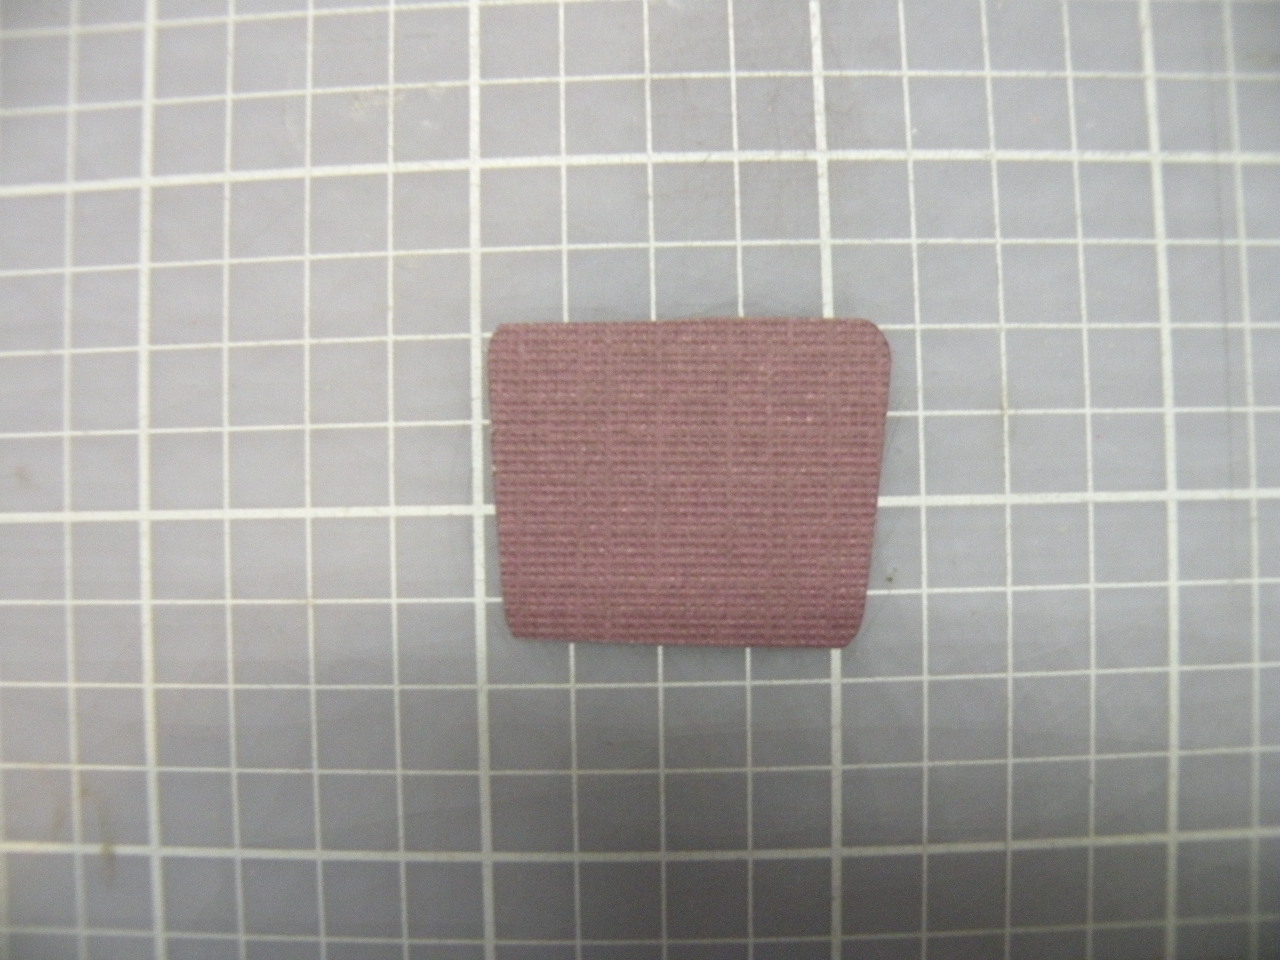
Cut one <ShirtTie>, pg 42, size 4 1/4" using the Layer 3, Shift, and ShirtTie keyboard key for the cheeks. I chose a blue color cardstock, but you might want to go with the tradtional pink cheeks.
Step 13

Adhere each cheek to either side of the smiley face.
Step 14

Cut one <ShirtTie>, pg 42, size 1 1/2" using the Word and ShirtTie keyboard key for the sentiment intricate cutout.
Cut one <ShirtTie>, page 42, size 1 1/2" using the Word, Shift, and ShirtTie keyboard key for the sentiment shadow cutout.
Step 15

Adhere the intricate to the shadow sentiment and adhere to the top left of the card. You are finished. A Father's Day card is difficult to put embellishments on but if the Father you are making this card for has a special hobby, you might want to checkout the fun embellishments at scrapbooking supply stores.
I sincerely appreciate your visit to my blog and I thank you; please click on the "become a follower" link to continue to follow in the future.
Hi Kat
ReplyDeleteJust popping by for a quick hello. Love this idea for a card. I on;y have 3 cartridges and this isn't one of them. I'm hoping for 1 or 2 for my b-day this fall.
Happy Memorial day!
Leann
BTW - Just signed up for the e-mail notification. I'll let you know.